D365 Business Central : How to Use AL Table Proxy Generator tool (altpgen) with ClientId and RedirectUri
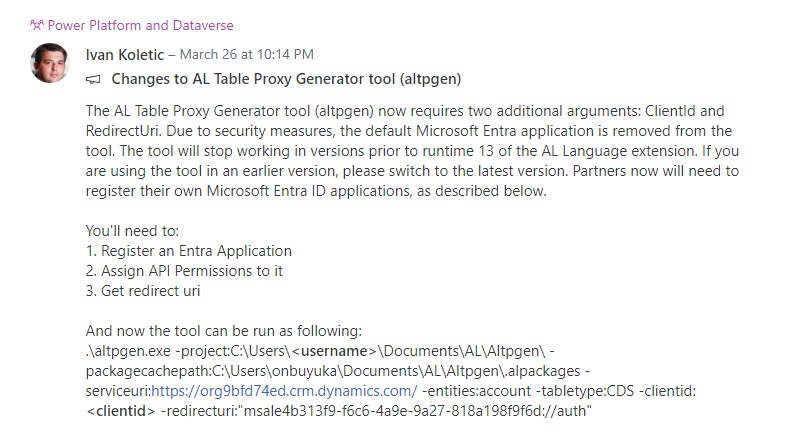
As of March 2024, Microsoft’s AL Table Proxy Generator (altpgen) tool requires two new arguments: ClientId and RedirectUri. This change enhances security but means you will see an error ErrorCode: no_client_id if you try to run altpgen without these details.
Here’s a step-by-step guide to setting up and using altpgen with these new requirements.
Register an Entra Application
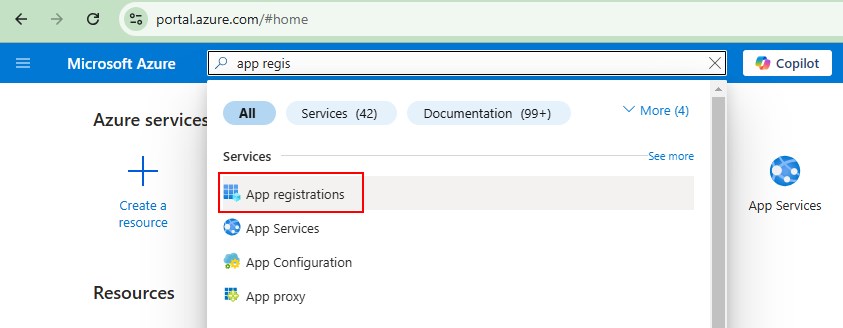
Go to Azure Portal, and search for App registrations.
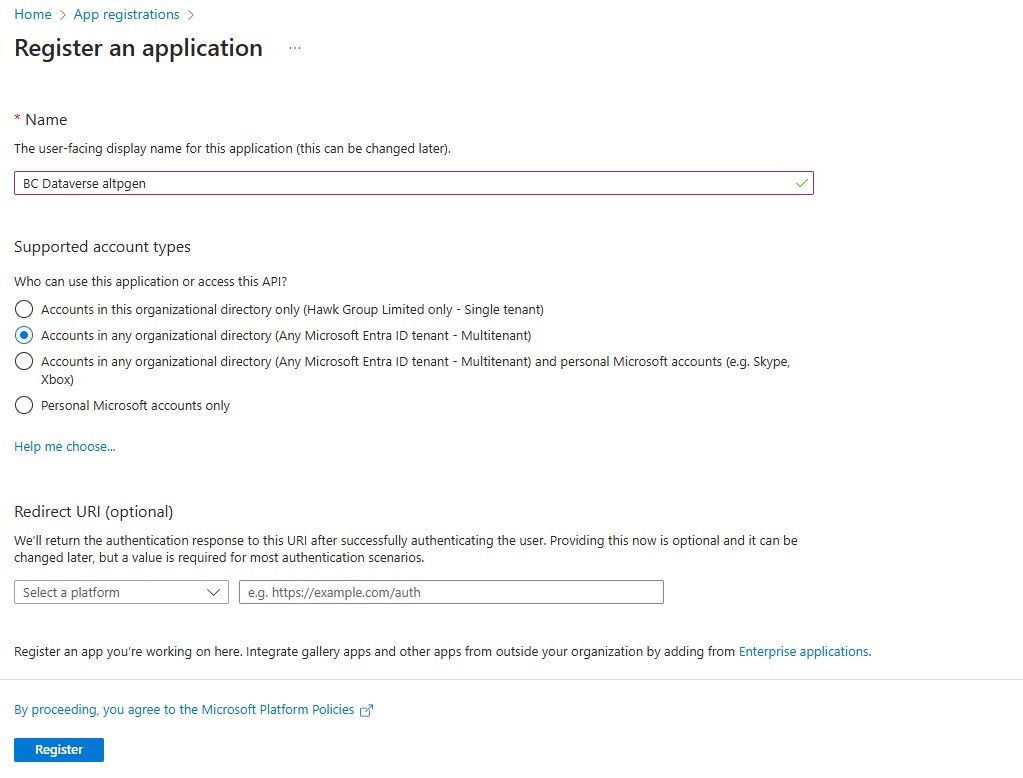
Click on New registration.

Specify a Name, choose the Supported account types, then click on Register.
Configure API Permission
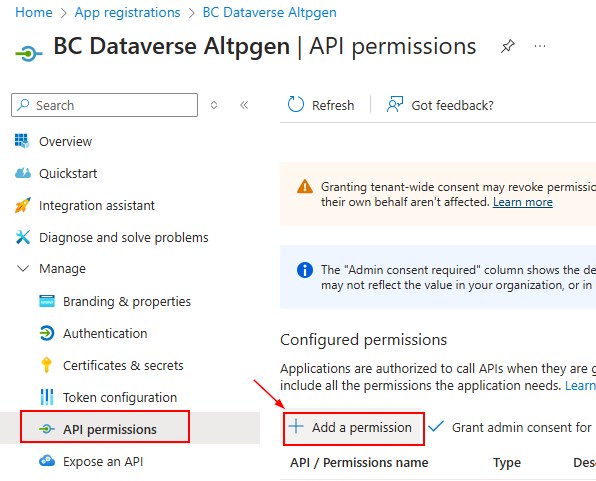
Go to API permissions and click Add a permission.
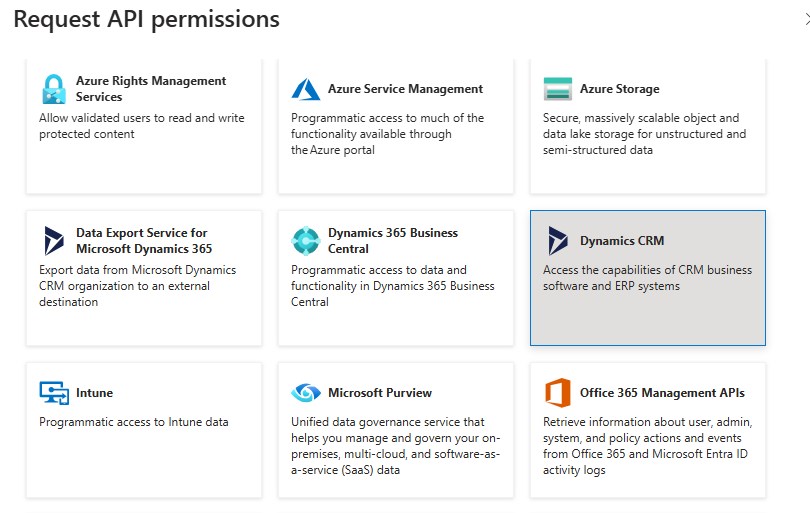
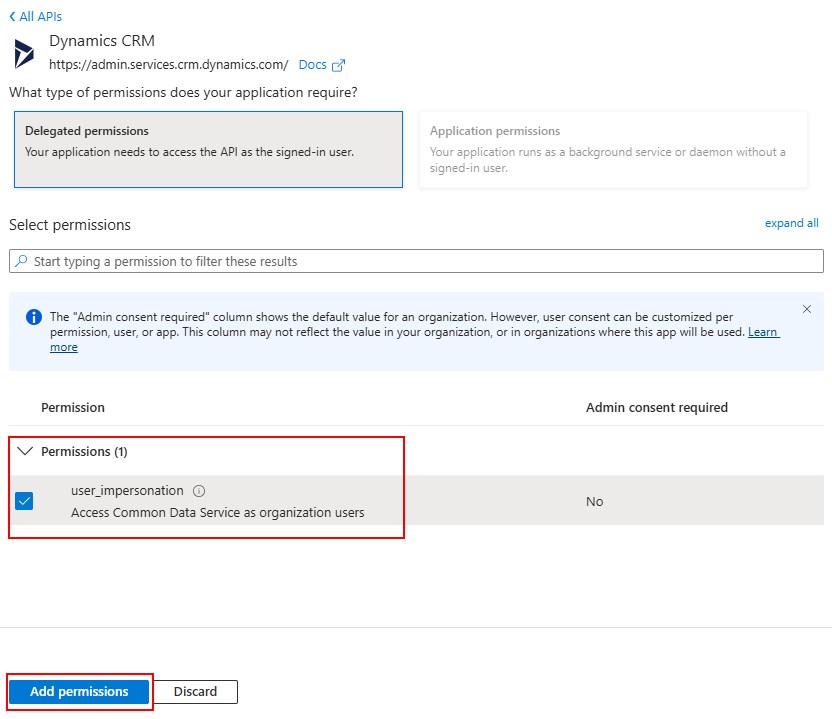
Search for Dynamics CRM, and select user_impersonation, and click Add permissions.

Set Up Authentication
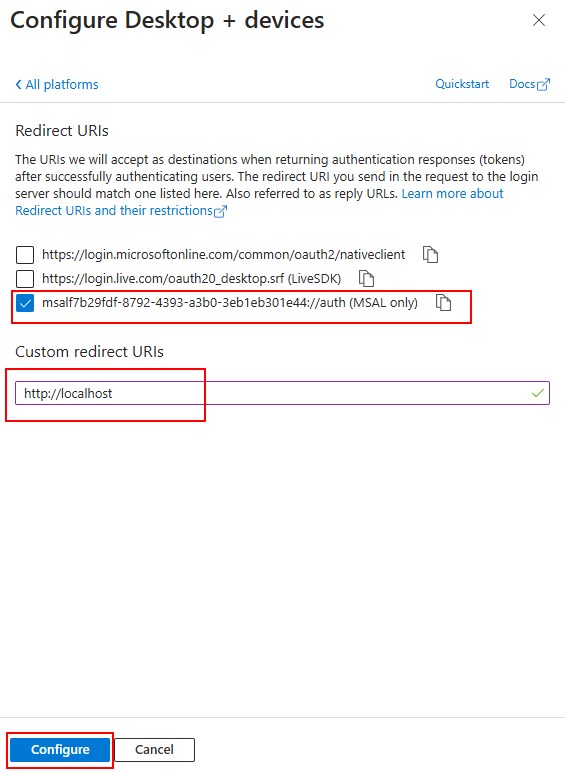
Go to Authentication, click Add a platform and choose Mobile and desktop applications.
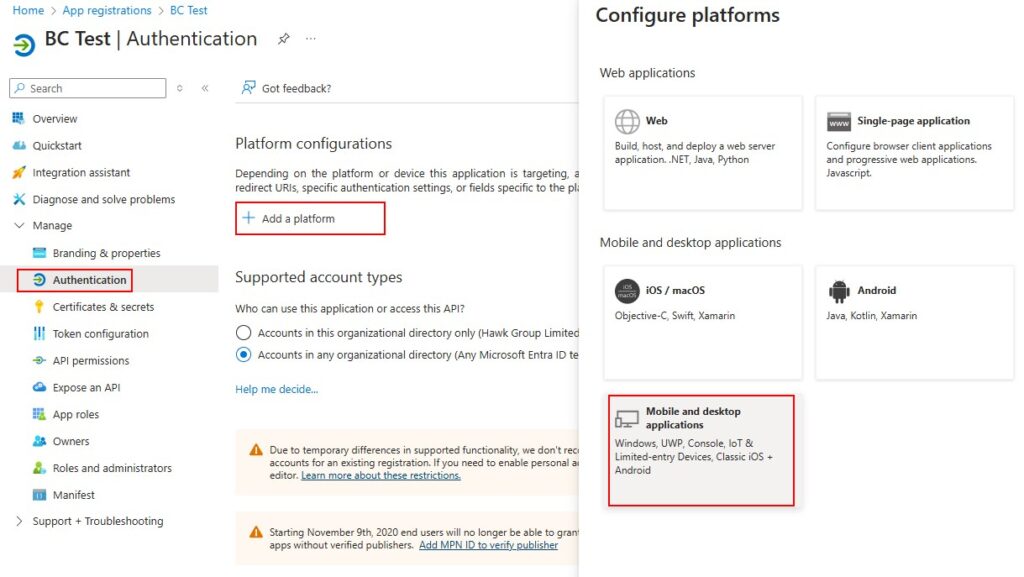
Select the MSAL only, set the http://localhost as the Custom redirect URIs, and click Configure.
Run the AL Table Proxy Generator Tool (alptgen)
With the app registered and configured, you’re ready to use altpgen. Make sure to have the ClientId and RedirectUri ready.
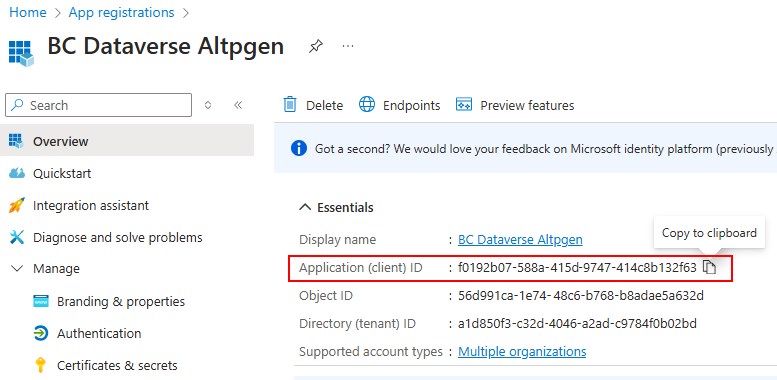
Open PowerShell and navigate to the altpgen folder. This path will depend on your AL version.
cd "C:\Users\teddy.herryanto.vscode\extensions\ms-dynamics-smb.al-14.1.1180850\bin\win32\altpgen"Run the alptgen command.
.\altpgen -project:"C:\AL\Test\Dataverse" -packagecachepath:"C:\AL\Test.alpackages" -serviceuri:"https://testdev.crm.dynamics.com/" -entities:account -baseid:50000 -tabletype:CDS -clientId:"f0192b07-588a-415d-9747-414c8b132f63" -redirectUri:"http://localhost"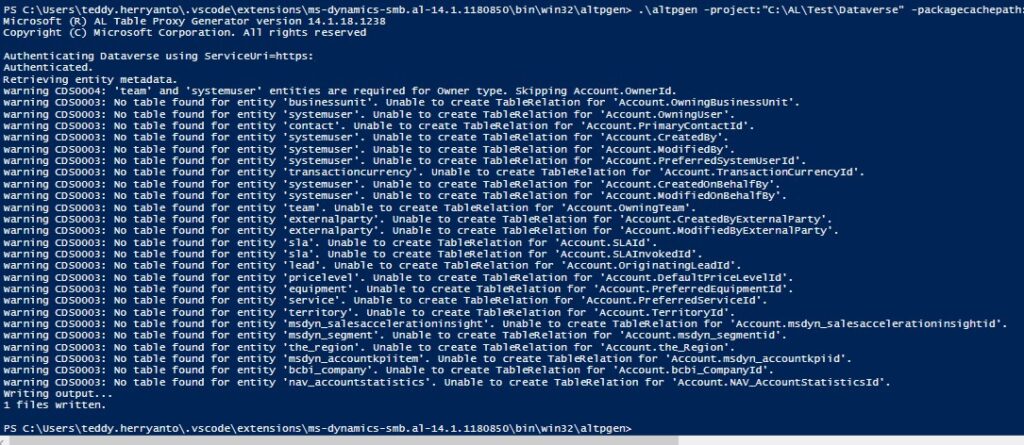
That’s it !
With these steps, you should now be able to use the AL Table Proxy Generator tool with ClientId and RedirectUri.
